- Must-Do Steps After a Windows 11 Update
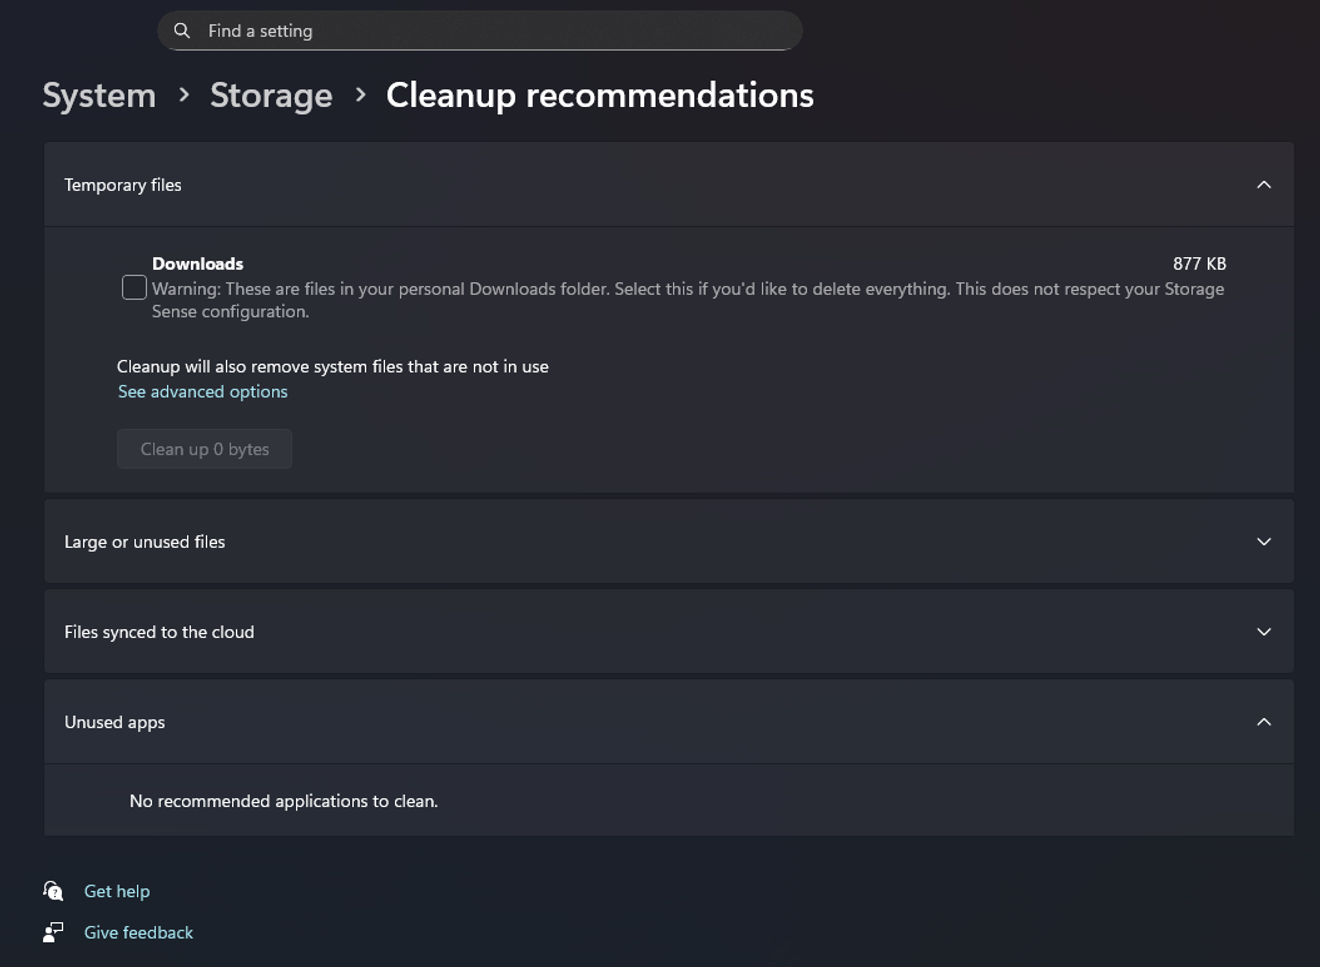
- Learn how to delete previous version files after a Windows 11 update. Leftover files after an update can take up storage space and cause performance issues. Maintain PC performance by deleting previous Windows installation files in Settings > System > Sto
The item to delete previous Windows files didn't appear in the temporary files after the update since last week. This has happened twice including today.
So, I asked Copilot to find another way, and it even taught me things like DOS, but I was finally able to find the answer in Disk Cleanup.

First, open Disk Cleanup. Confirm that C is selected and click OK.

Then, press the marked part. Then, confirm that C drive is selected again and click OK.
Then it scans the C drive, and capturing doesn't work from this process. After the scan is complete, it asks which items to delete, and it's finished by checking 'Previous Windows installation(s)' and proceeding with the deletion. During the process, a window like this pops up one more time: 'If you delete these files, you cannot go back to the previous Windows. Are you sure you want to proceed?' Then, press OK and finish the deletion.
It's so inconvenient to find and solve it through Disk Cleanup like this because it doesn't appear in Settings. I hope it gets back to normal soon. (Of course, it does come out if you only type D after the Windows key + S shortcut)
Comments0